 movilTopo
movilTopo: RTK GNSS surveying on Android, ready for fieldwork
movilTopo helps you measure land, capture points and work with RTK precision using an external GNSS receiver, NTRIP and 2D/3D tools in a lightweight app.
movilTopo helps you measure land, capture points and work with RTK precision using an external GNSS receiver, NTRIP and 2D/3D tools in a lightweight app.
Capture GNSS points on a map and organize them for field checks and surveying tasks.
Compute land areas, perimeters and 2D/3D distances directly on site.
Use either point cloud or polygon workflow depending on project needs.
Inspect slopes and surfaces with terrain rendered in 3D.
Import Spanish Cadastre GML, KML and GeoJSON/JSON files, plus XML containing GML geometry. Export your points as GeoJSON/JSON.
Give each point a name and attach text fields and field photos to its popup.
Connect your external GNSS receiver to Android via USB OTG.
Configure your NTRIP caster credentials and mountpoint.
movilTopo receives RTCM corrections and sends them to the GNSS receiver.
Use corrected real-time positions for measurement and stakeout.
Seven quick tutorials to get started with movilTopo. Open the one you need and follow the steps.
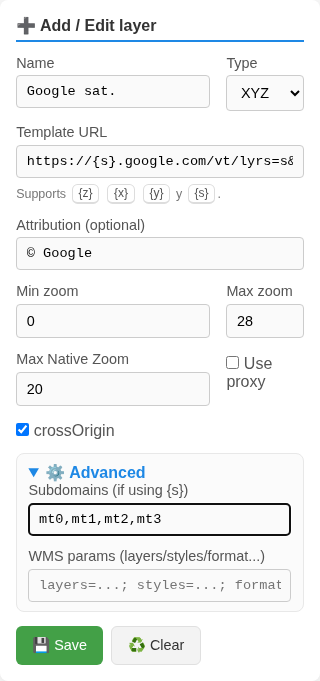
Menu ☰ → Layers → New.
Use the full URL below. Enable crossOrigin and open Advanced to enter the subdomains.
Press Save. Return to the map, open the layer selector (stacked sheets icon) and select Google sat.
Zoom 28 enlarges the image. Original detail is available up to native zoom 20.
Download the Puerta del Sol example before heading out.
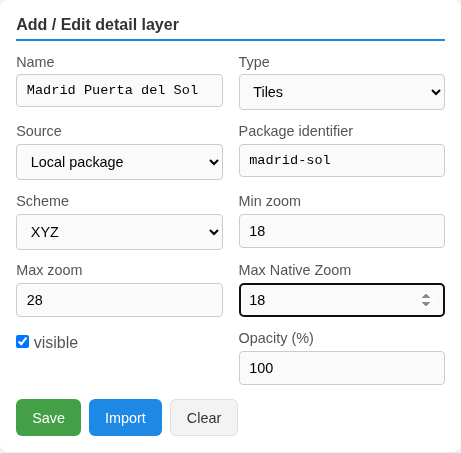
Menu ☰ → Detail layers → New. Type: Tiles. Source: Local package. Package ID: madrid-sol. Scheme: XYZ.
Press Import and select the ZIP. Then set Min zoom 18, Max zoom 28, Max Native Zoom 18 and enable visible. Press Save.
Return to Puerta del Sol (Madrid), at 40.4168, -3.7038, and zoom to level 18. Turn on airplane mode: that area should still be visible.
ZIP import runs in the Android app. This example covers a small part of Puerta del Sol at zoom 18; higher zoom levels enlarge the same image.
mi-mapa.zip
└── 18/
    └── 128373/
        └── 98751.png
You can use your own ZIP: follow the zoom / column / row structure and use the scheme and native zoom of your package.
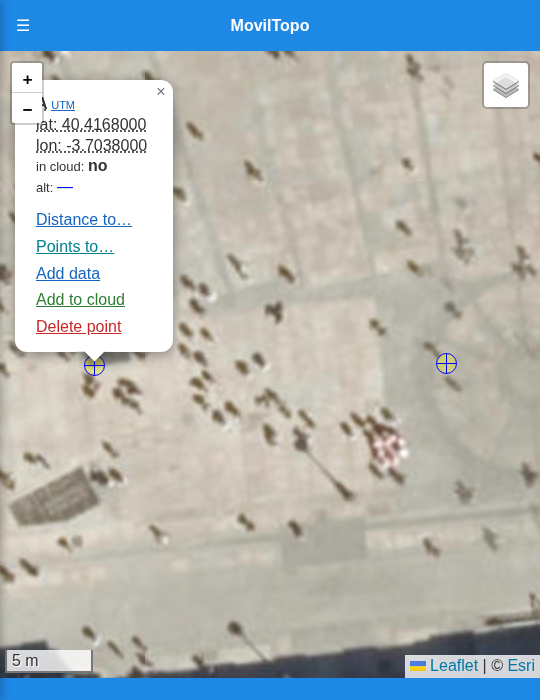
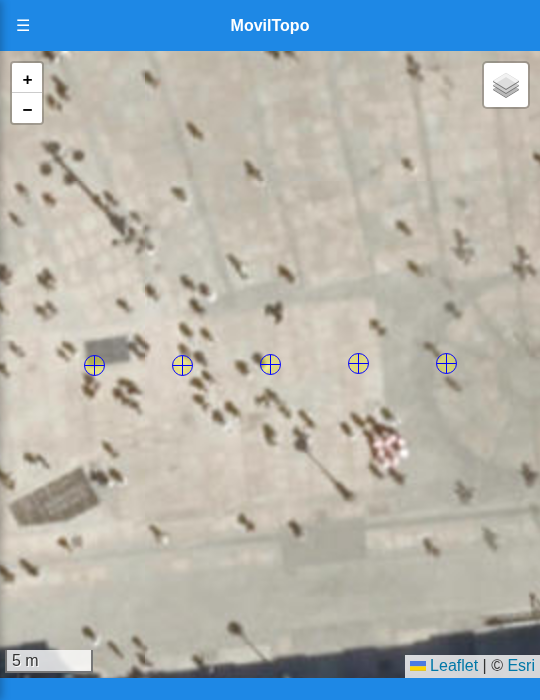
Example: 20 m from A to B · a point every 5 m
Create or load A and B. To practise without GNSS, enable Menu ☰ → Manual: ON and tap two places on the map.
Tap A and select Points to… in its popup.
Tap B. Enter 5 in the spacing prompt, with units set to metres, and confirm.
On a 20 m segment, three new points appear at 5, 10 and 15 m from A. A and B are kept.
Get the parcel GML from the Spanish Cadastre website. If the download is a ZIP, extract the .gml or .kml file first.
Wait for the app to receive a valid GPS position. Open Menu ☰ → Load points and select the file.
Press Load on map in the file section. movilTopo imports the vertex coordinates so you can work with them on the map.
.gml.kml.xml.geojson / .jsonXML import reads GML coordinates; the cadastral certificate data XML is a separate file.
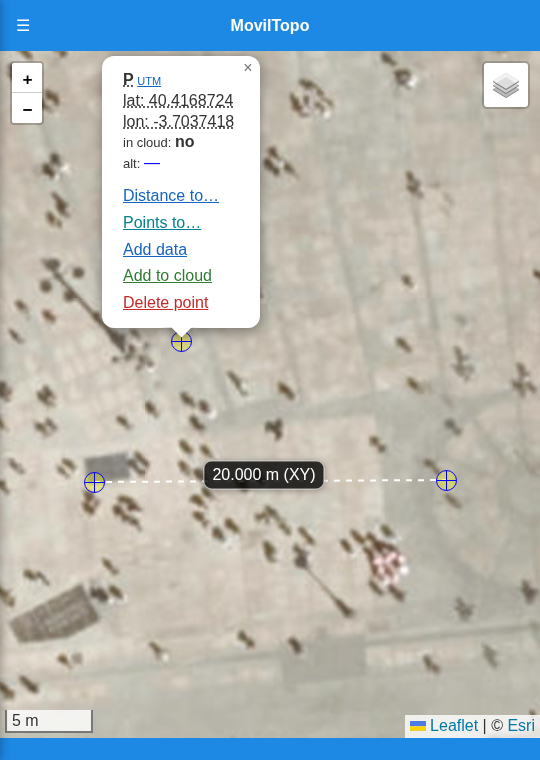
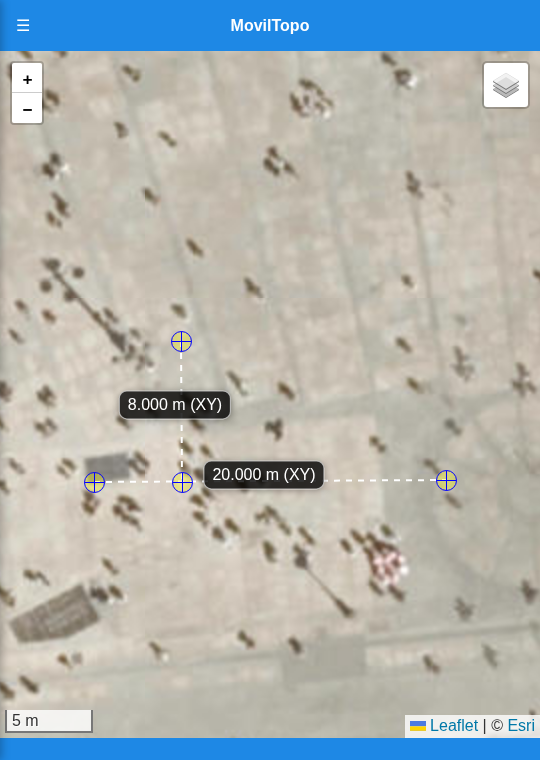
Example: 20 m line A–B · 8 m perpendicular distance from P
Prepare A, B and a point P away from the line. Tap A → Distance to… → tap B. A distance label appears for A–B.
Tap P and choose Distance to… in its popup.
Press the distance label on the A–B measurement, for example 20.000 m (XY).
movilTopo creates a new point H where the perpendicular meets the line and draws the P–H measurement. The example shows 8.000 m (XY).
H is the foot of the perpendicular. The XY measurement is the horizontal distance from P to the line. The line extends beyond A and B, so H can lie outside the A–B segment.
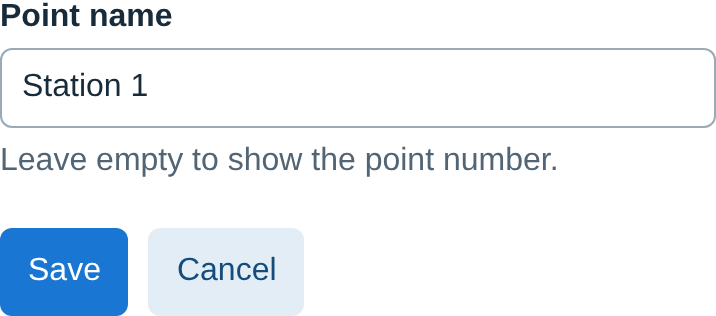
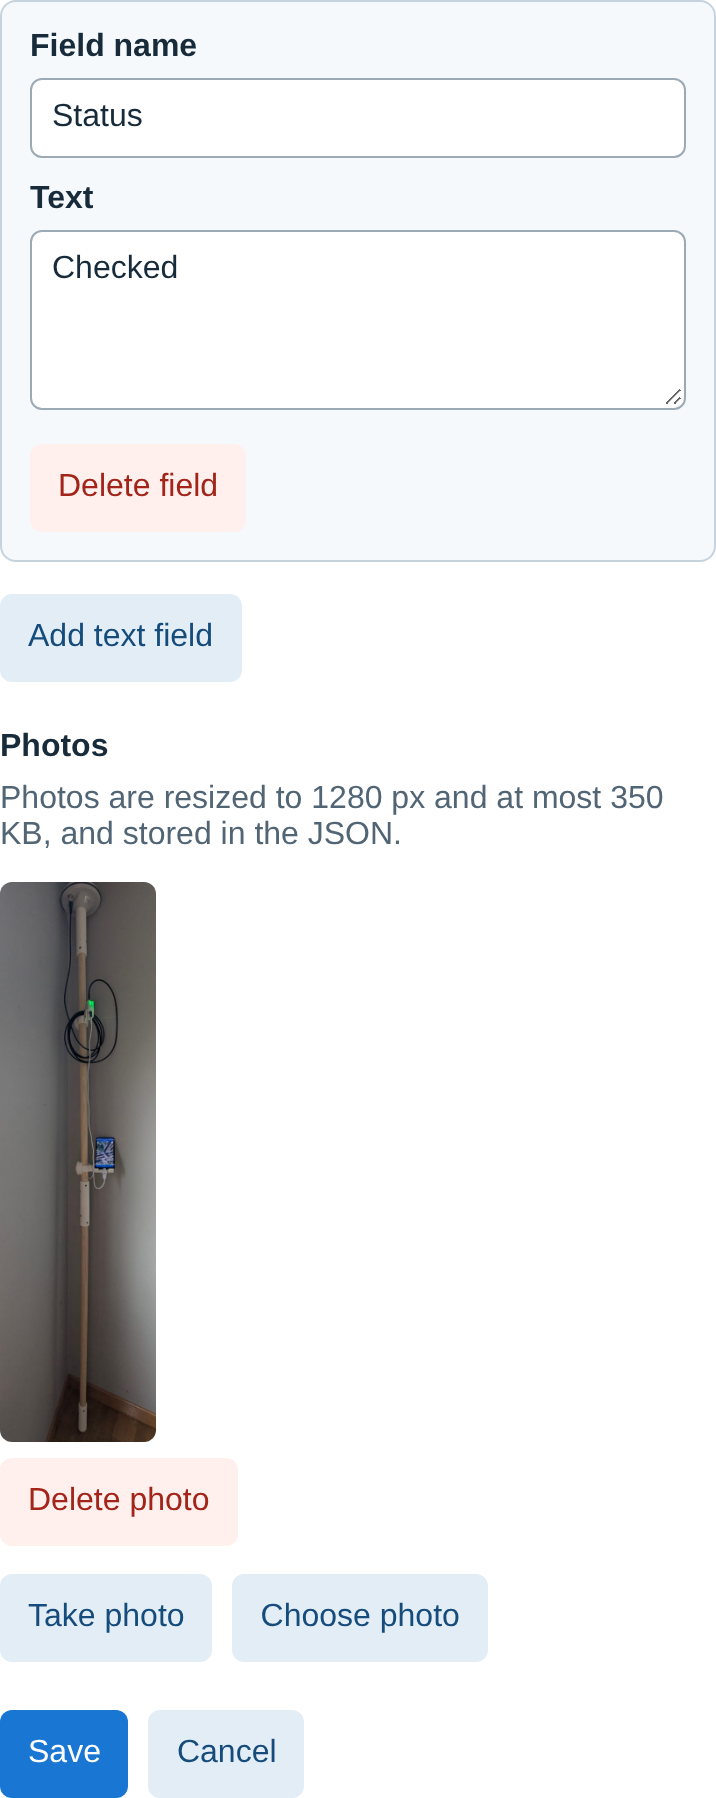
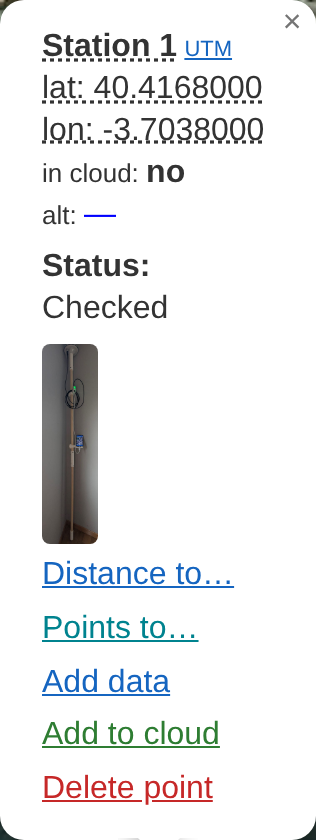
Example: Station 1 · Status: Checked · a field photo
Tap a working point on the map, then tap the underlined name or number in its popup. Enter Station 1 and press Save.
In the popup, choose Add data → Add text field. Enter Status as the field name and Checked as the text.
Press Choose photo to attach an image, or Take photo to take a photo. You can add several.
Press Save. Tap the point to see its new name, text fields and photos.
Each field needs a unique, non-empty name. Point names, text and photos are preserved when exporting points as GeoJSON/JSON.
Connection overview
Use a phone that supports USB host/OTG. Plug an OTG adapter with a USB-A female socket into the phone, then connect a USB-A data cable ending in USB-C or micro-USB to match the module.
Open Menu ☰ → GNSS → Search devices. Select the module from the list and accept the Android USB permission when prompted.
Under GNSS profile, select LC29HDA, UM980 or u-blox (M8/M9/F9) to match your receiver. You can also use Auto (detection). Baud Rate must match the module’s serial speed.
Tap Connect GNSS, then Configure profile. The app sends receiver-specific settings: operating mode and GNSS messages according to the profile, to prepare the RTK workflow. Then connect NTRIP to receive corrections.
Auto (detection) · Generic NMEA

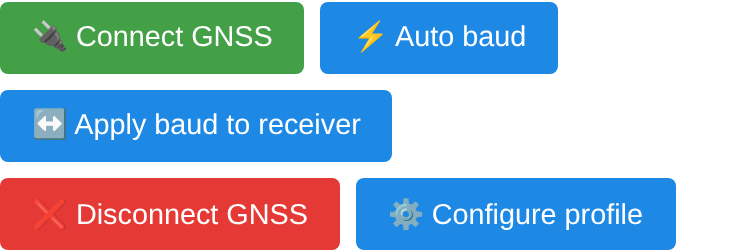
The Generic NMEA profile reads data but does not send configuration settings to the receiver. RTK requires an RTK-capable module and valid corrections; choosing a profile does not turn a basic receiver into an RTK receiver.
Some USB-C boards lack the required detection resistors on CC1/CC2. The phone may fail to detect the module or enable power in host mode. If this happens, use the OTG adapter and USB-A data cable shown above. A correctly implemented USB-C module can work with a USB-C to USB-C cable.
Learn more: Android USB host · USB-C detection (Texas Instruments)
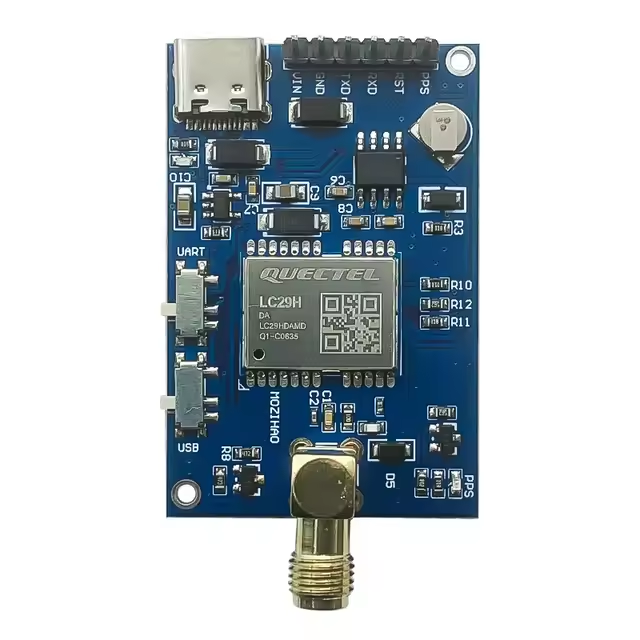
Verified profile support for RTK field workflows.
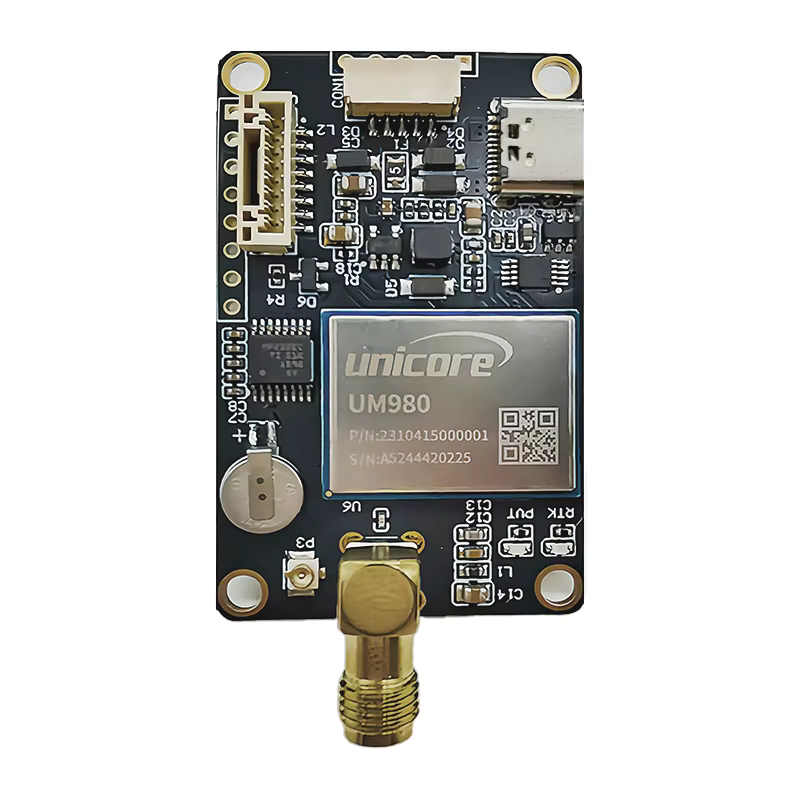
Integrated profile support for high-precision GNSS operation.
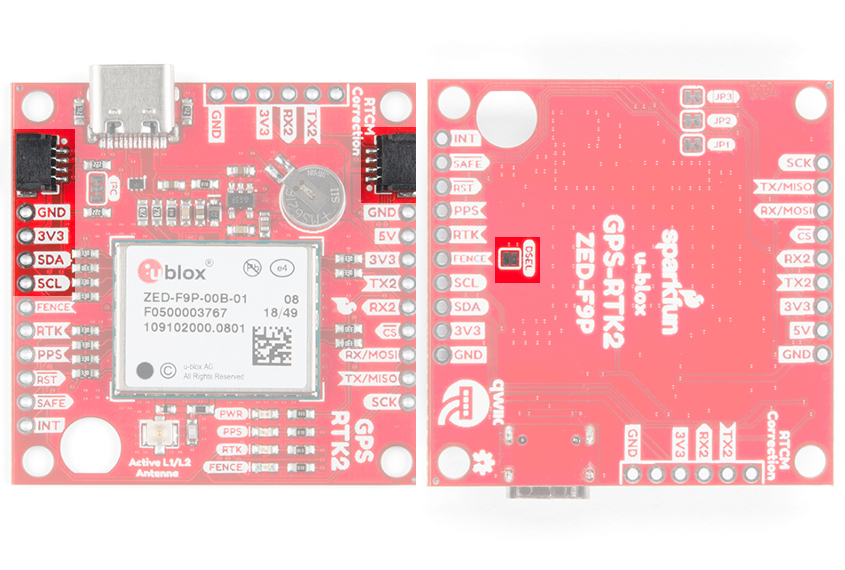
High-precision multi-band RTK GNSS receiver.
Each receiver has its own profile in the app. See the USB connection guide to choose an OTG adapter and apply the configuration. See USB connection and profiles.
The full kit for the 2 m x 30 mm wooden pole is already available with quick assembly notes, reference photos and direct STL downloads.
movilTopo is designed for practical field surveying workflows: GNSS point capture, parcel boundary checks, basic stakeout, area and perimeter computation, and on-site validation using RTK positions. The workflow combines external USB OTG GNSS receivers, NTRIP/RTCM correction streams, and GeoJSON/JSON data exchange for GIS continuity.
Yes, in basic mode with phone GPS, but precision depends on device hardware.
No. NTRIP provides the corrections needed for RTK positioning with a compatible receiver.
No. For legal or official surveying work, consult a qualified professional.
An RTK-capable GNSS receiver, valid corrections and a fixed RTK solution. Accuracy also depends on signal quality and field conditions.